
I’m downloading CML Free Tier to see how it looks. My hope is to deploy a Nexus9K VXLAN / EVPN configuration (In hindsight this was incredibly naïve, N9K absolutely isn’t available on Free Tier). This page goes through all the steps I took to install CML Free Tier.
Its worth noting the node limits of CML but it is really straightforward to use. Node Limit: 5 active nodes at a time, unmanaged switches and external connectors don’t count.
The available FreeTier nodes are:

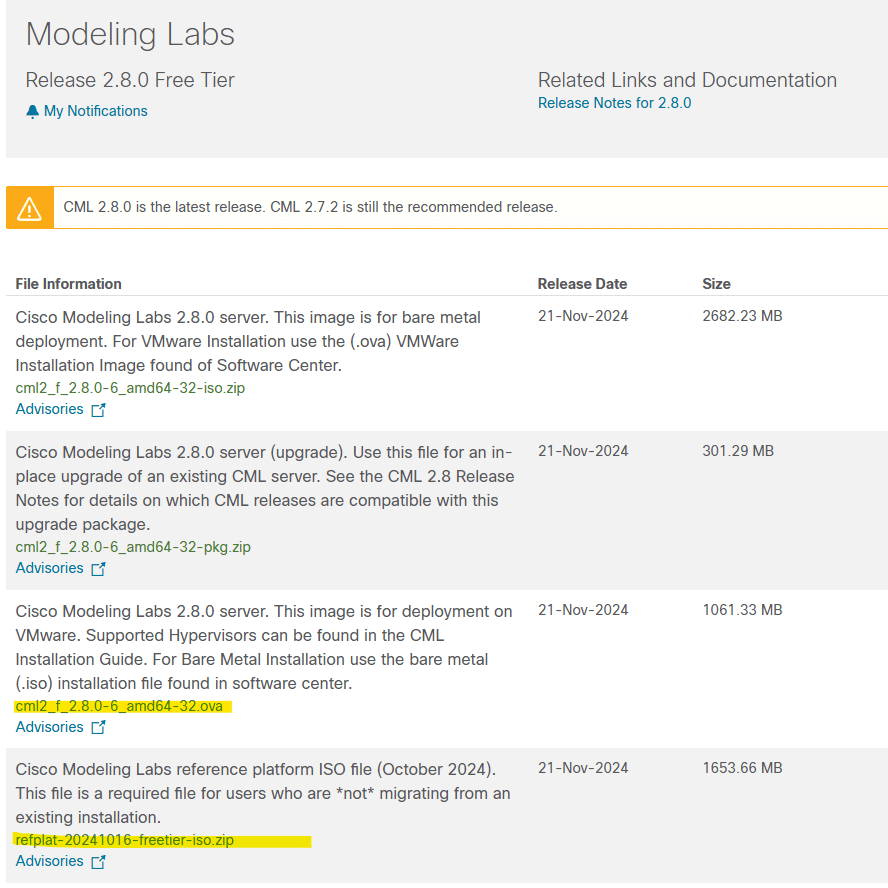
Now we’ll begin the installation. Use the Cisco download portal to get the .ova for VMware using 2.8.0. I’ll be installing this on my VMware Workstation. I have also downloaded the freetier-iso.zip as instructed “This file is a required file for users who are *not* migrating from an existing installation”.
VM requirements for CML OVA.
| Memory | 8 GB |
| Processors | 4 |
| Hard Disk | 32 GB |
Open Workstation Pro 17 and select “Open a Virtual Machine”

When prompted select the previously downloaded OVA file.

Rename the VM, confirm the storage path and import.

Now we wait for the import…

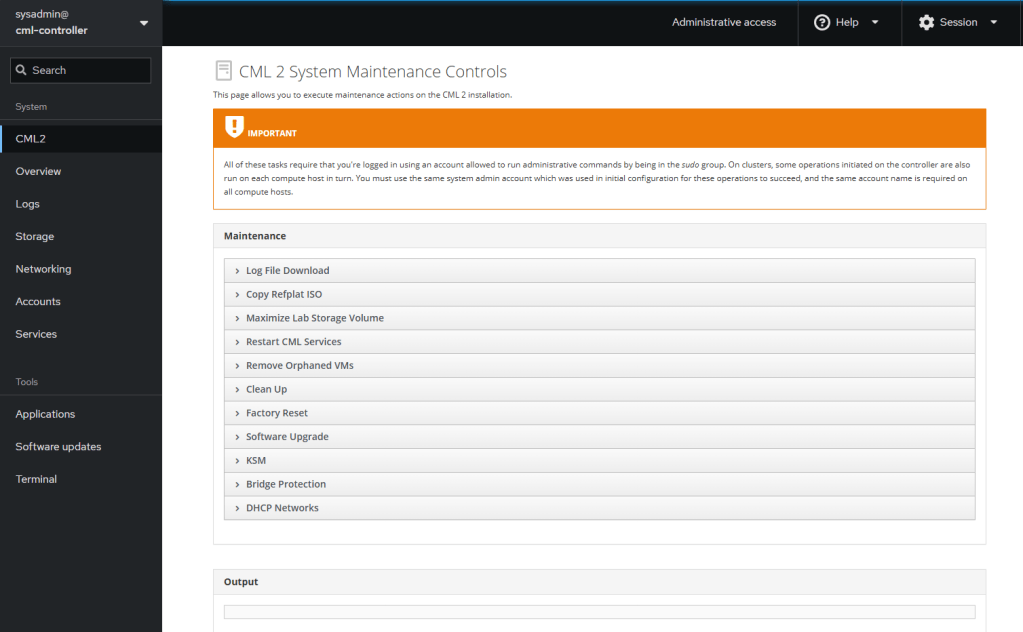
Next it’s important we attach the refplat .iso file before we power on the VM or we’ll have no free nodes to play with when CML is ready. You can however install this post build using cockpit.
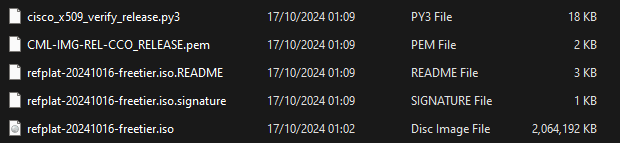
First we extract the refplat-20241016-freetier-iso.zip
Next go to the VM settings and attach the refplat .iso *Remember to connect at power on or it won’t see the .iso when required.

Now we can power on the VM.
Now the installation begins and parameters are selected. I have opted for a non-clustered install and the reference .iso I will install using cockpit once CML has booted. In hindsight maybe it would have been easier just to attach the .iso before I booted the VM but I didn’t read the installation notes.
Now CML has booted we can access it via the WebUI, this is available at the IP address listed at the login screen. Don’t forget the 9090 port number. Regarding my home network, currently I just bridge my NIC with my VMs and the VMs pick-up IP’s via DHCP on my router.
In my case, this is https://192.168.0.40:9090, it’s worth noting this gets you to the administrative cockpit, NOT the CML lab manager.

To login to the cockpit I used the sysadmin account that was created during the installation.
To login to the Lab Manager go to the same IP without the 9090 port: https://192.168.0.229 and login with the admin account you created during the installation.
We made it, we’re in.
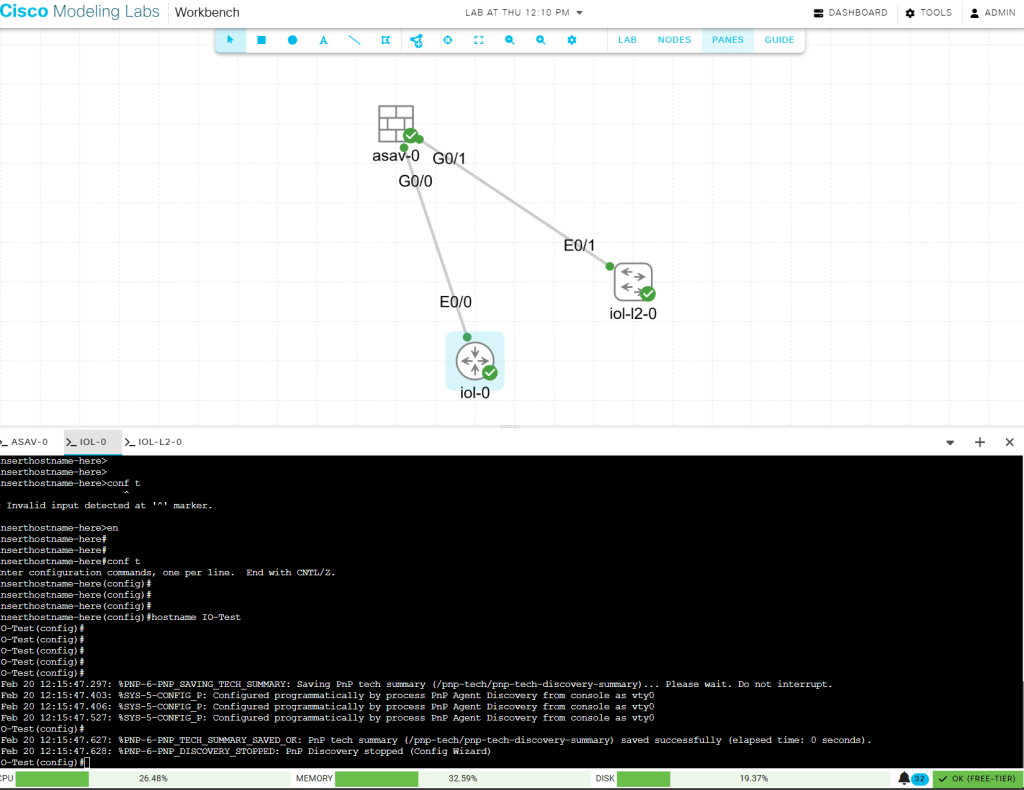
Now we can see the CML Lab Manager dashboard and start creating labs.

I’ve now added a lab and can see the nodes immediately available to me. A little bit underwhelming but it it is the free tier. No chance of any Nexus9K images.

Now i’ve added some of the base images, I can right click nodes and add links, its very straight forward.
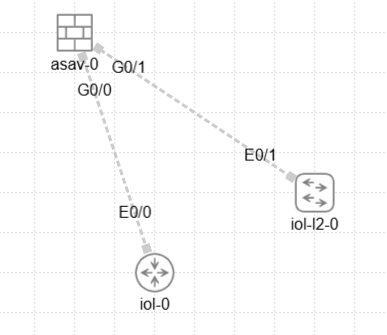
Booting seems great no issues yet and the resource although maxed whilst booting isn’t too intensive for the three nodes i’ve selected.
I’ve noticed by clicking the nodes you can set Day-0 configuration and by right clicking we can reach the console, I do also believe there’s some terminal emulator plugins but I don’t have time for that right now.
So, that’s it. Free tier is booted and useable!
If you’re shutting down your CML VM then turn your nodes off and run the following console command on your CML VM (Same as EVE).

